Fine brow strokes · Four shapes · Ten shades

Greyarea Hair-Stroke Brow System

Stamp fine, hair-like brow strokes in one press.
Your shape Shape guide
Your shade: 01 Dark GrayShade guide

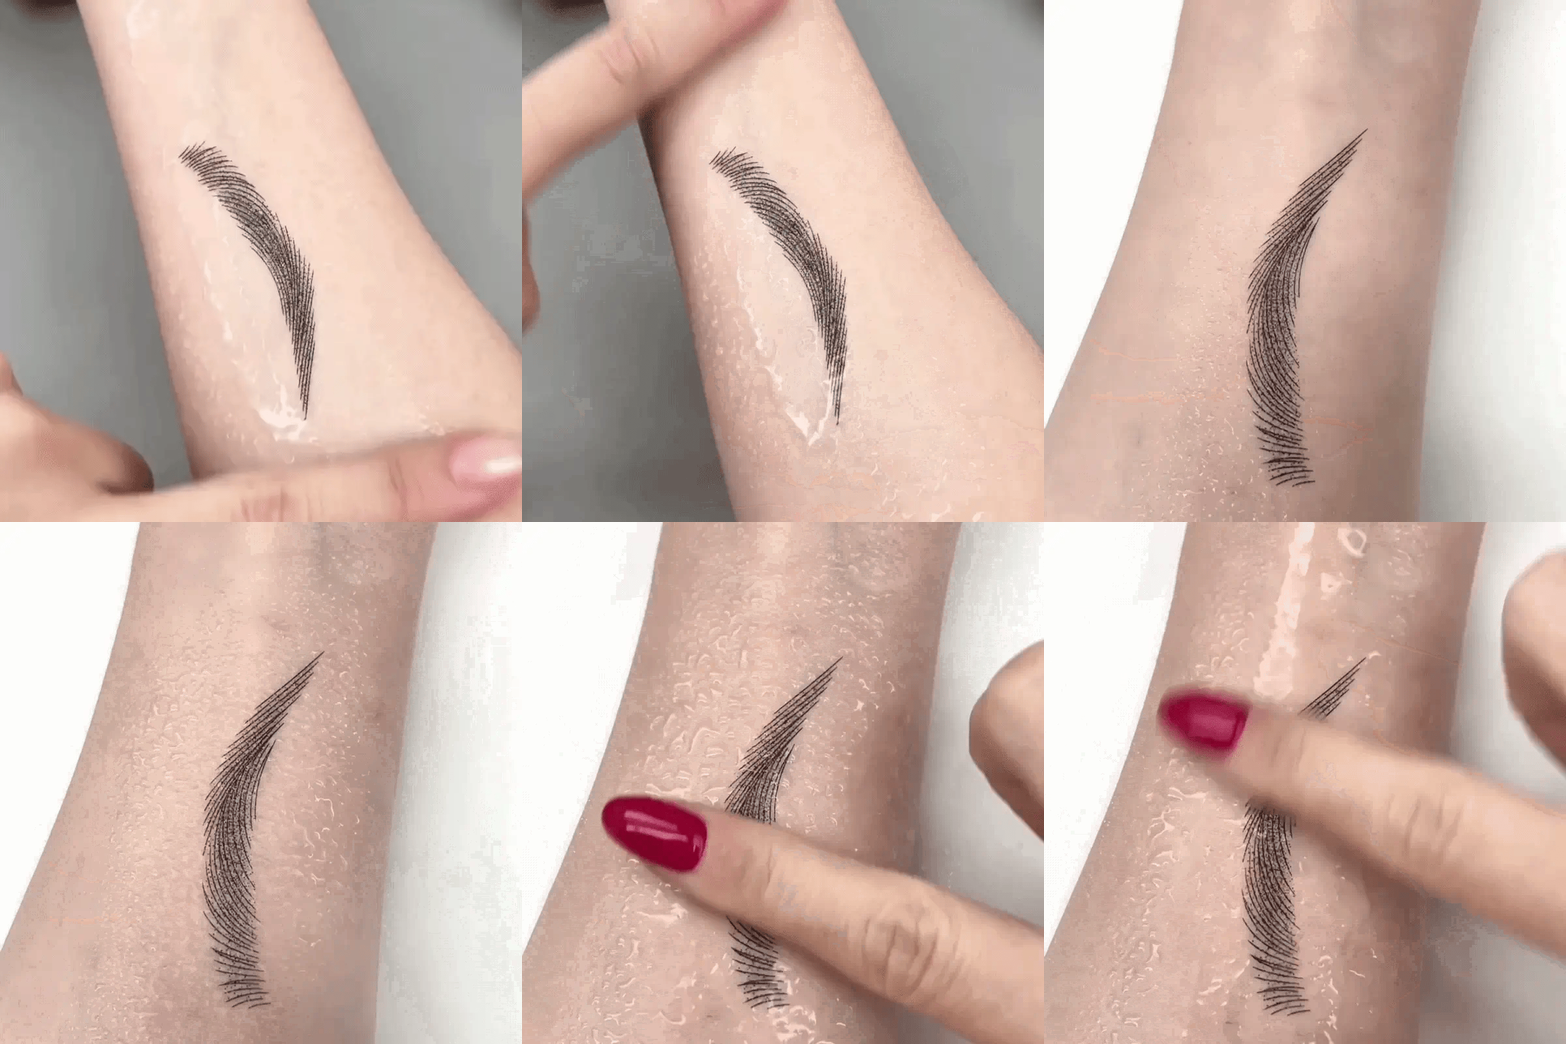
Close-up demonstration of individual stamped brow strokes on a forearm
It’s all in the little strokes

Look closer.
See the detail.

The clear stamp helps you place each pattern.

Where to use it

Faded brows

Add soft definition where your brow colour has faded.

Sparse areas

Place fine strokes where you want a little more detail.

Missing tails

Use the clear stamp to line up the outer brow.

Closer look

How to use

Load the plate, lift the pattern and press onto your brow.

Choose your brow shape

01 · SOFT DEFINITION

Soft Arch

A gentle curve for a softly defined, everyday look.

02 · EASY & FAMILIAR

Natural

A relaxed shape if you prefer an understated finish.

03 · A LITTLE MORE LIFT

High Arch

A more pronounced curve for a defined, lifted look.

04 · FINE & DELICATE

Slim

A thinner shape for subtle, delicate definition.

01 Dark Gray
02 Dark Brown
03 Classic Black
04 Medium Brown
05 Gray-Brown
06 Golden Brown
07 Cool-toned Brown
08 Earthy Brown
09 Reddish Brown
10 Olive Brown

Choose your pigment shade

Match the pigment to your natural brow colour.

Grey or silver hair?Compare 01 Dark Gray, 05 Gray-Brown and 07 Cool-toned Brown. Choose the depth that suits your brows.
Light brows or blonde hair?Compare the lighter 06 Golden Brown and 07 Cool-toned Brown with your natural brow colour.
Between two shades?The lighter option gives a gentler starting point.
Choose your shade
Your complete system

What’s in the box

  1. Patterned brow plateYour selected shape, with a pattern for each side.
  2. Clear stamp & scraperSpread the pigment, pick up the strokes and see where you place them.
  3. Your chosen pigmentA shade that suits the finish you want.
  4. Cleansing oilFor cleaning the plate and applicator after use.

Still thinking? Look at the results:

Brow before and after comparison 1 Brow before and after comparison 2 Brow before and after comparison 3 Brow before and after comparison 4 Brow before and after comparison 5 Brow before and after comparison 6 Brow before and after comparison 7 Brow before and after comparison 8 Brow before and after comparison 9 Brow before and after comparison 10 Brow before and after comparison 11 Brow before and after comparison 12 Brow before and after comparison 13 Brow before and after comparison 14 Brow before and after comparison 15 Brow before and after comparison 16 Brow before and after comparison 17 Brow before and after comparison 18 Brow before and after comparison 19 Brow before and after comparison 20

FAQs

How is this different from a powder brow stamp?

A powder stamp fills an area with soft colour. This system picks up a pattern of individual hair-like strokes from a plate and transfers it onto your skin.

Can I use it if I have very few brow hairs?

The pattern transfers onto the skin, so you do not need a full natural brow to see the shape. Use the clear stamp to line it up with the brow area you want to define.

Will it grow my eyebrows?

This is brow makeup. It adds the look of brow hairs while you wear it.

Do I need to draw the hairs myself?

No. The fine lines are already in the plate. You spread the pigment, pick up the pattern with the stamp and transfer it onto your brow area.

How do I line up both sides?

Use a clear mirror at eye level and look through the transparent stamp. Check the starting point, height and angle before pressing. Repeat with the matching pattern on the other side.

What if the first transfer is not quite right?

Remove the pigment gently with a suitable oil-based makeup remover, then clean and dry the area before trying again. A thin, even layer of pigment and a gentle press help keep the fine lines clear.

How should I prepare my skin?

Start with clean, dry skin. Remove makeup and any surface oil from the brow area before placing the pattern.

How do I keep the tools ready for next time?

Remove leftover pigment from the plate and stamp with the cleansing oil after every use. Let the tools dry before putting them away.

Enlarged before and after photograph